Search This Blog

Tuesday, November 9, 2021

Wild Maryland Cookbook - Maryland Recipies by Maryland Residents

Maryland Dept of Natural Resources Cookbook

I am excited to share the news that the MD DNR finally released this cookbook located Here.  I submitted 3 recipes hoping one would make it in the publication.  Well, it turns out they accepted and included all three!  The cookbook contains over 60 recipes from foraging to deer and fishing quarry.   The menu of recipes can be found here at the View all Recipes Link.

I am honored to have included some of the recipes located on this very Blog!


Saturday, November 6, 2021

A Toast to Wild Persimmons - Winemaking Recipe

Originally published in Traditional Bowhunter Magazine Dec/Jan 2022 issue.


 I eased from the dark woods though the post-dawn mist into the light of an old overgrown field. I moved with the cautious speed of a cold snail while scanning for the slightest movement.  My eyes zipped to a brown and white flick as a doe's rump moved behind a wrist thick tree trunk.  Despite the deer standing only 25 yards distant, another such tree was positioned, of course, right through the kill zone.  I stood quivering with a mounting excitement as the old doe looked up in frozen rigidity.  Did she see me, or was she just looking about as deer do?  Heart thumping in my throat now, she lowers her head and begins again to feed among the tall grasses taking that next step clear of the tree.  Instinctively feeling this was the right time, I raised my bow while drawing and settled into anchor.  Staring at a hair out of place above her front leg, my arrow was gone without thought.  The orange fletching zipped through the spot I was looking at.  She exploded crashing through the brambles and shrubs leaving me breathing hard while slightly shaken, exhilarated, and elated.  I love that feeling!

The old field had not been mowed for a decade on the old farm property.  That doe was intent on eating the sweet persimmon fruit that littered the ground.  Trees were starting to take over from the thick rose, thistle, and primary colonizers to woody trees.  Several large old persimmon trees were located along the old field edge and animals had helped to disperse the seeds. These trees now 15-20 feet tall, along with a few honey locust and poplar, grew plentiful in the old field.  The majority of these trees provided shade and cover, but very few actually produced fruit.

There are several varieties of persimmon trees, though the kind that grow wild in the Eastern Appalachian area where I live are the Diospyros virginiana or American Persimmon.   Several varieties of Asian persimmons are available in markets. Other transplants grow wild including the Japanese Hachiya variety that are common in California, and the black variety native to Mexico that can be found in the American southwest.  

The American are "astringent" type, meaning if you bite into a unripe fruit it is so bitter you may lose your sense of taste altogether for 20 minutes.  You would swear it would never be something fit for consumption due to amount of tannin.  Once the fruit ripens and softens however, it becomes quite sweet with a cinnamon overtone.  

Important to the hunter, the fruit is eaten by many animals including whitetail deer and wild hogs.  They are a favorite of coyotes, opossums, and raccoons.  The fruit is high in vitamin C and is traditionally made into breads, puddings, and alcoholic beverages by our pioneer ancestors.  


Each Autumn, my son and I, head into the brush with buckets to collect the fruit.  The ripe fruit is soft to the touch with skin that is slightly opaque to the eye.  They fall from the branches easily if you shake the branch or tree.  The green fruits are difficult to remove and sometimes break off a piece of the stem.  We keep ripe and green separated into their own buckets.  The ripe fruits can be eaten, though care must be taken to not swallow the hard seeds which will cause illness if ingested.  


We process the fresh ripe fruit right away by using a potato masher to squash 6-8 fruits at a time in a fine mesh metal strainer.  The pulp eventually squeezes through into a bowl, leaving the bitter skin and hard seeds behind.  Most recipes call for 2 cups, so I place the pulp into quart sized freezer bags in 2 cup batches.  The bags will freeze flat and take up little space in your freezer until ready.


The unripe fruit must be ripened by placing them into a paper grocery bag with an apple or banana and rolled closed to sit for up to a week.  I check them every few days and process the ripe ones. The ethylene gas from the grocery store fruit will help the fruit ripen quickly.  Old lore says that a frost is needed to ripen the fruit, but I have found that putting them into the freezer or refrigerator for any time period will not speed up the ripening.  


Breads, puddings, and jams are tasty, but my main use for the persimmon is making wine!  My son's Taekwondo instructor informed me Persimmon wine is very popular in Korea, so I gave it a try.  Now, I cannot see wasting them on jams and breads.

Wine making at home is not that difficult and requires little investment in equipment.  I started by using wide mouth quart mason jars I already owned for canning food and do small batches at a time.  I found a company that sells stainless steel wide mouth lids and water airlocks for fermenting other foods, but you could use your old glass gallon cider jugs with a balloon and needle hole on the end also.  I will describe the recipe I used for quart sized jars.


Ingredients:

3/4 cup persimmon pulp

2 cups sugar

2 teaspoons lemon juice

1/2 packet of wine making yeast

1 cut up raisin

1 tablespoon of pectin enzyme

Add the room temperature pulp and sugar to the jar. Then add the tea, lemon juice (for acid), pectin enzyme (to clarify), and a chopped raisin for some extra yeast nutrients to help things grow.  

Meanwhile add the 1/2 a packet of wine yeast to a small cup and hydrated with water to activate it for 15 minutes or so, swirling every few minutes.

Then, add the yeast and stir before filling the jar to within a few inches of the top with tap water to allow some expansion of material during fermentation.

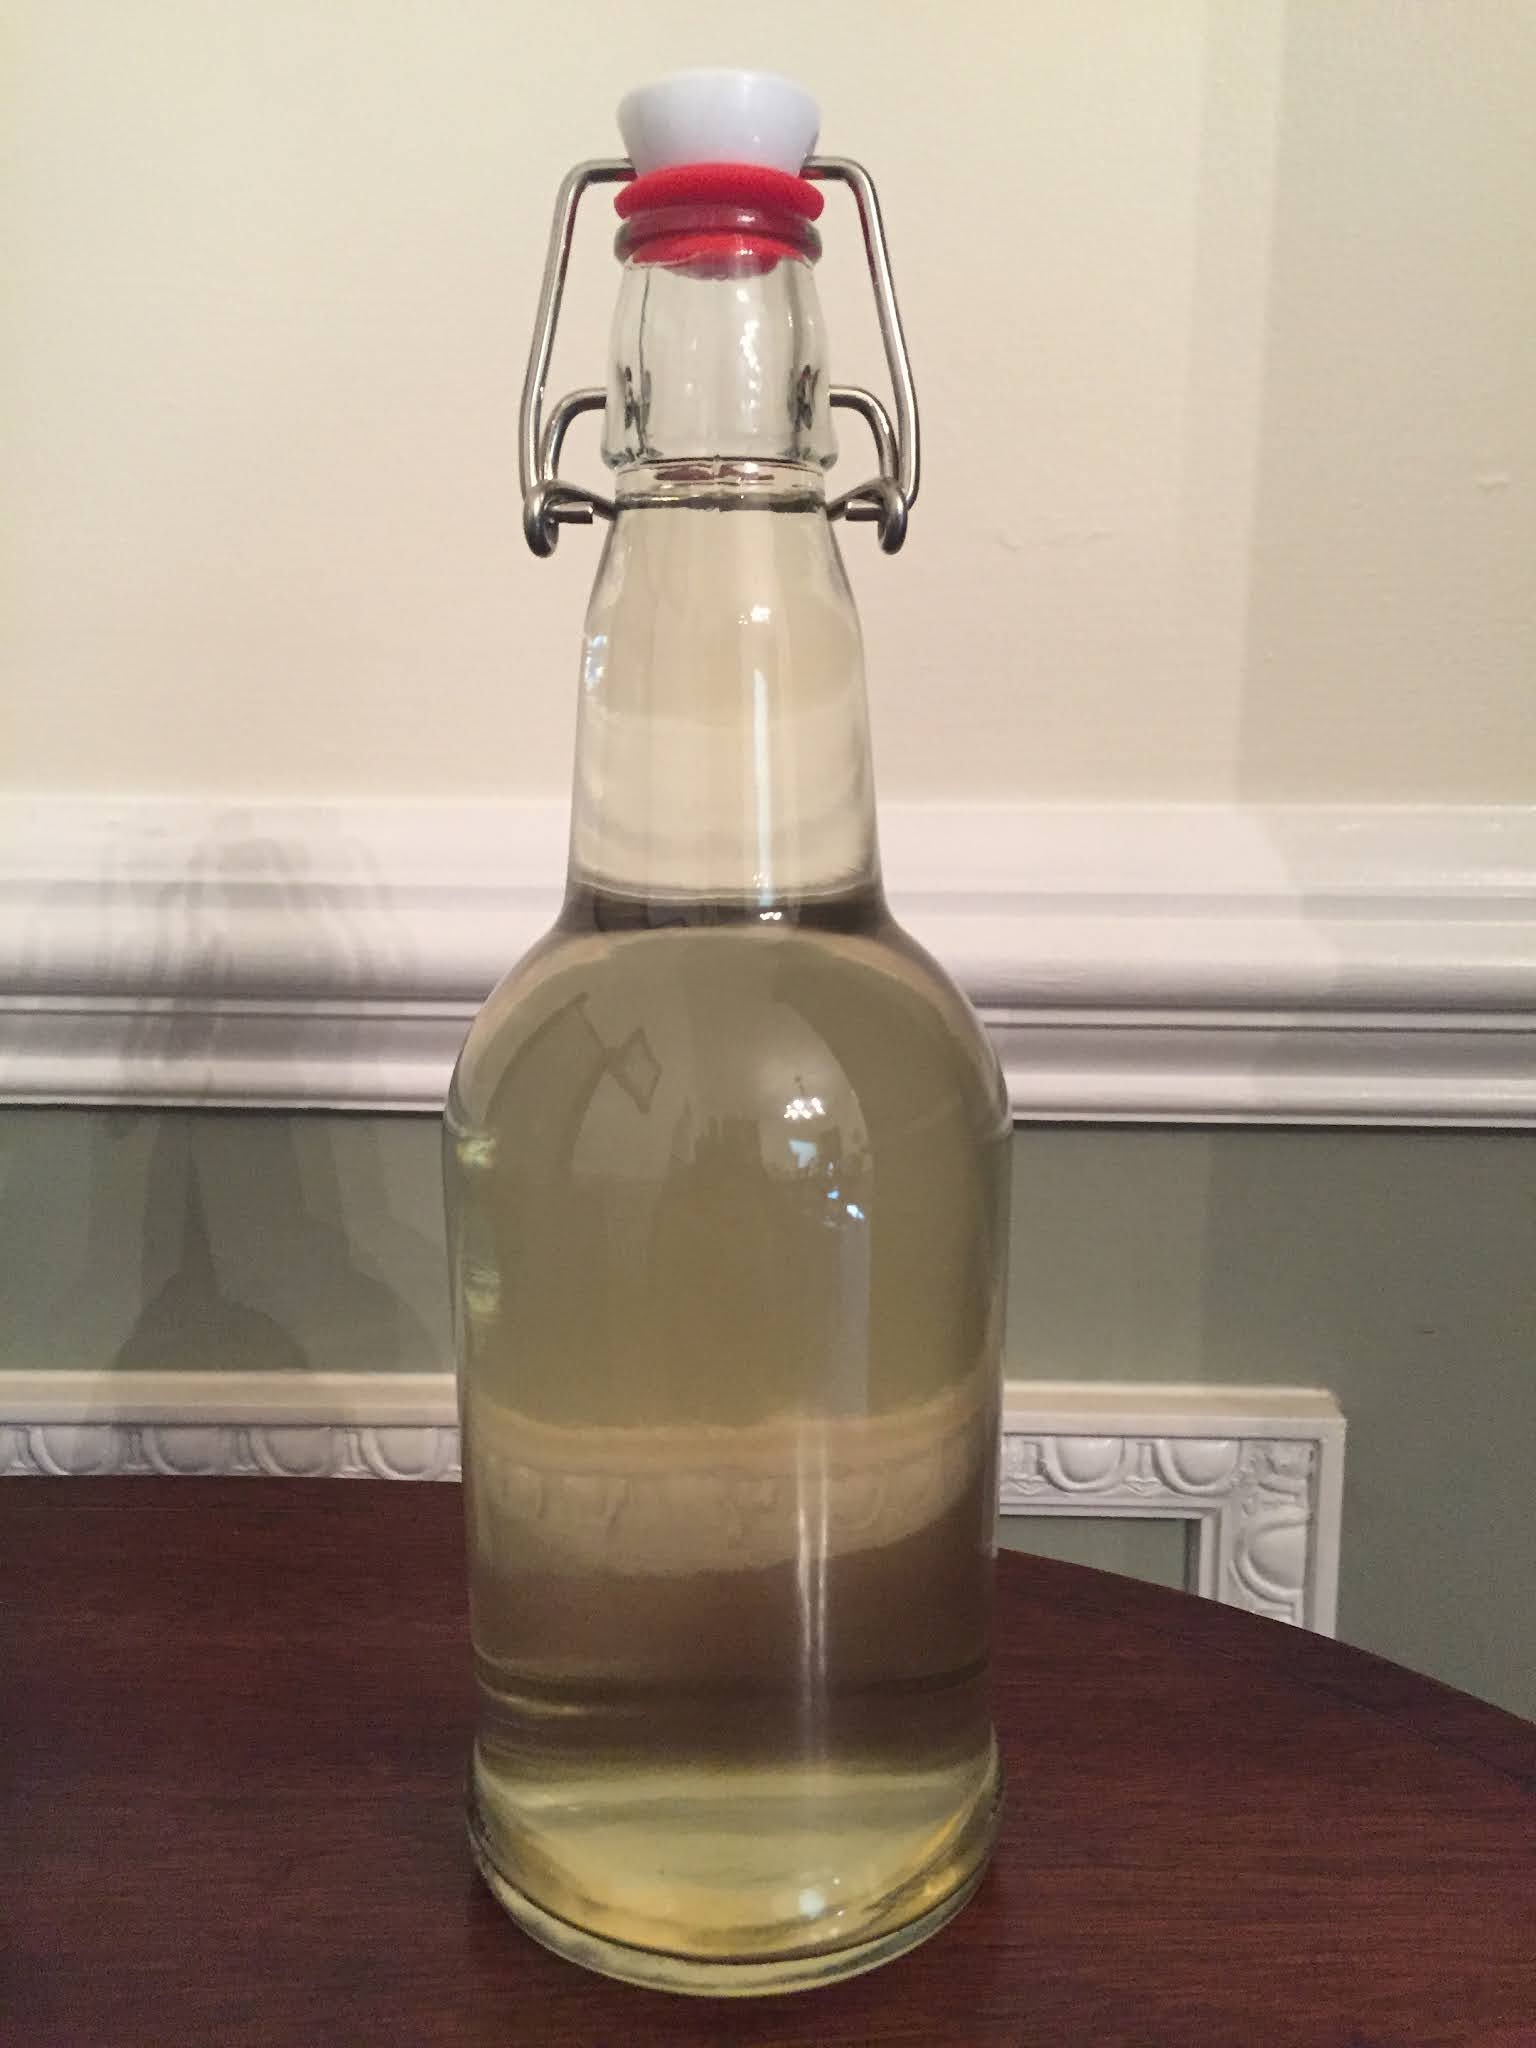
Close the lid, fill the airlock, and date the jars before moving them to a storage area about 70-76 degrees (my den bookshelf works). In about 5 weeks it is time to filter out the wine if they stopped bubbling and fermenting.  I use a strainer lined with cheese cloth and re-bottled the liquid in other mason jar additional aging. After a month or two more of aging, I rack the wine into a flip top bottle (or you could just use another mason jar).  For this I use a small section of aquarium tubing to siphon off the liquid, being careful to leave the sediment behind.  The bottles should mellow for about another month before consuming. I can say it pairs very well with roast venison.  Cheers to the persimmon, that provides a natural food source to attract game as well as a fall harvest and a delicious wine!

You can also do larger batches in gallon jugs!


Wednesday, March 17, 2021

Shad Roe Recipe - A Spring Tradition

There is a traditional American spring food that goes back to our founding that has largely been forgotten to most these days.  The early Colonists learned fast from the Native Americans and relied heavily on the spring shad runs for sustenance. In the spring of 1778, the spring shad run virtually saved the Continental Army after the long winter at Valley Forge, PA. 

The shad fish itself is a bony, oily, and fishy tasting critter and this has tarnished it's ranking in modern cuisine. However the roe (egg sack) does not share in those qualities and is in fact delicious table fare. 

My father would hunt a restaurant that served the delicacy every spring and the thought would repulse us kids. Then as we all got older, my father had to travel from Northern Delaware to Thurmont, Maryland to a small Irish Restaurant called "The Shamrock".  I finally tried the tasty fried row wrapped in bacon and was delighted to find it had a pleasant consistency, delicate taste, with no fishiness at all.  Every Spring my father would travel to see me in MD and we would stop at the Shamrock for the shad roe.  

After my Father passed away, and the Shamrock closed it's doors, I was left without my traditional spring meal.  

One day while passing the old restaurant I was discussing shad with my good friend Bill.  Several days later he texted me a photo saying the local Wegman's had shad roe.  I decided to cook it myself!


Ingredients:

Milk or cream
bacon grease
minced garlic
Parsley
salt and pepper
(the Bailey's is for the cook)


Soak the egg sack in milk, heavy cream or buttermilk (I used a milk and cream mixture until room temperature).

Heat up your cast iron medium low heat with about 3 tablespoons of bacon grease or cook bacon in the pan before adding the fish.

Add the garlic and stir for a few minutes before adding the whole roe being careful not to puncture the sack.


Sprinkle with salt, pepper, and parsley and fry for about 5 minutes per side, turning once.


Enjoy with your favorite Irish drink.  


The consistency is more like a delicate meat with a subtle smokey flavor.  Not fishy at all. Happy St. Patrick's Day all.


Monday, October 5, 2020

Summer Harvest - Raspberry Jelly, Raspberry Wine & Liquor Recipe

This year has been an especially productive raspberry picking year.  Staying at home due to a Pandemic has allowed me to keep an eye on my raspberry bushes, along with the help of my son, get a leg up on the birds and bears.  I gathered berries every other day for a week and procured a total of about 12 quarts of fresh wild raspberries.


In previous years I've canned them or made pies, but this year I decided to make one of my favorites, raspberry jelly.  A pint jar of blackberry or raspberry jelly was going for about $7 a jar at my local orchard market.  It was surprisingly easy.  I am not  a fan of raspberry seeds or jam, so I went the jelly route just on personal preference.  Jam is even easier to make.

After picking them I had to remove all the bits of leaves and little stink bugs etc. that were in mixed in the fruit.  I found the easiest way for this is by soaking them in water, then lifting bunches out with my hand letting the water flow through my fingers into another big bowl of water.   Then doing the same into a strainer. This let the water out so I could put them into recycled berry containers.


I kept them in the refrigerator until I was ready to process.

I first used a blender to puree the berries and extract the juice.  I boiled the puree just because I thought I might get more juice out that way.  After bringing the mash to a boil for about 10 minutes I strained through a fine mesh strainer and allowed the mush to drip all the juice out for a few hours.


Then, I returned the pan to the heat and boiled the juice until I could not stir it down and my candy thermometer read 225 degrees.  Then, I added fruit pectin and canned the hot jelly into canning jars that were boiling for 15 minutes, then returned the filled jars for 5 minutes.  Then I removed them and allowed them to cool.


I froze about 3 quarts of berries for later liquor and wine making by placing them in one layer on a baking sheet until they were frozen in my chest freezer.  Then I bagged them for long term storage.


Next, my sister and mother kept asking me for raspberry liquor so I looked into it.  Luckily, I had a bottle of vodka and decided to give it a shot.  First, I pureed about 4 cups of the berries again and poured them into a reused 1/2 gallon glass jug cider came in.  I opted to puree though most instructions just said to mash with a spoon or masher.  I thought why not blend and maybe it would extract more juice.


I poured the mush into the bottle followed by the full bottle of vodka, labeled it, and brought it down into my cellar where I shook it up every week for a month.


After a month I strained it through cheese cloth and added 1 1/2 cups of sugar.  After the sugar was dissolved I poured the mixture into canning jars to age.


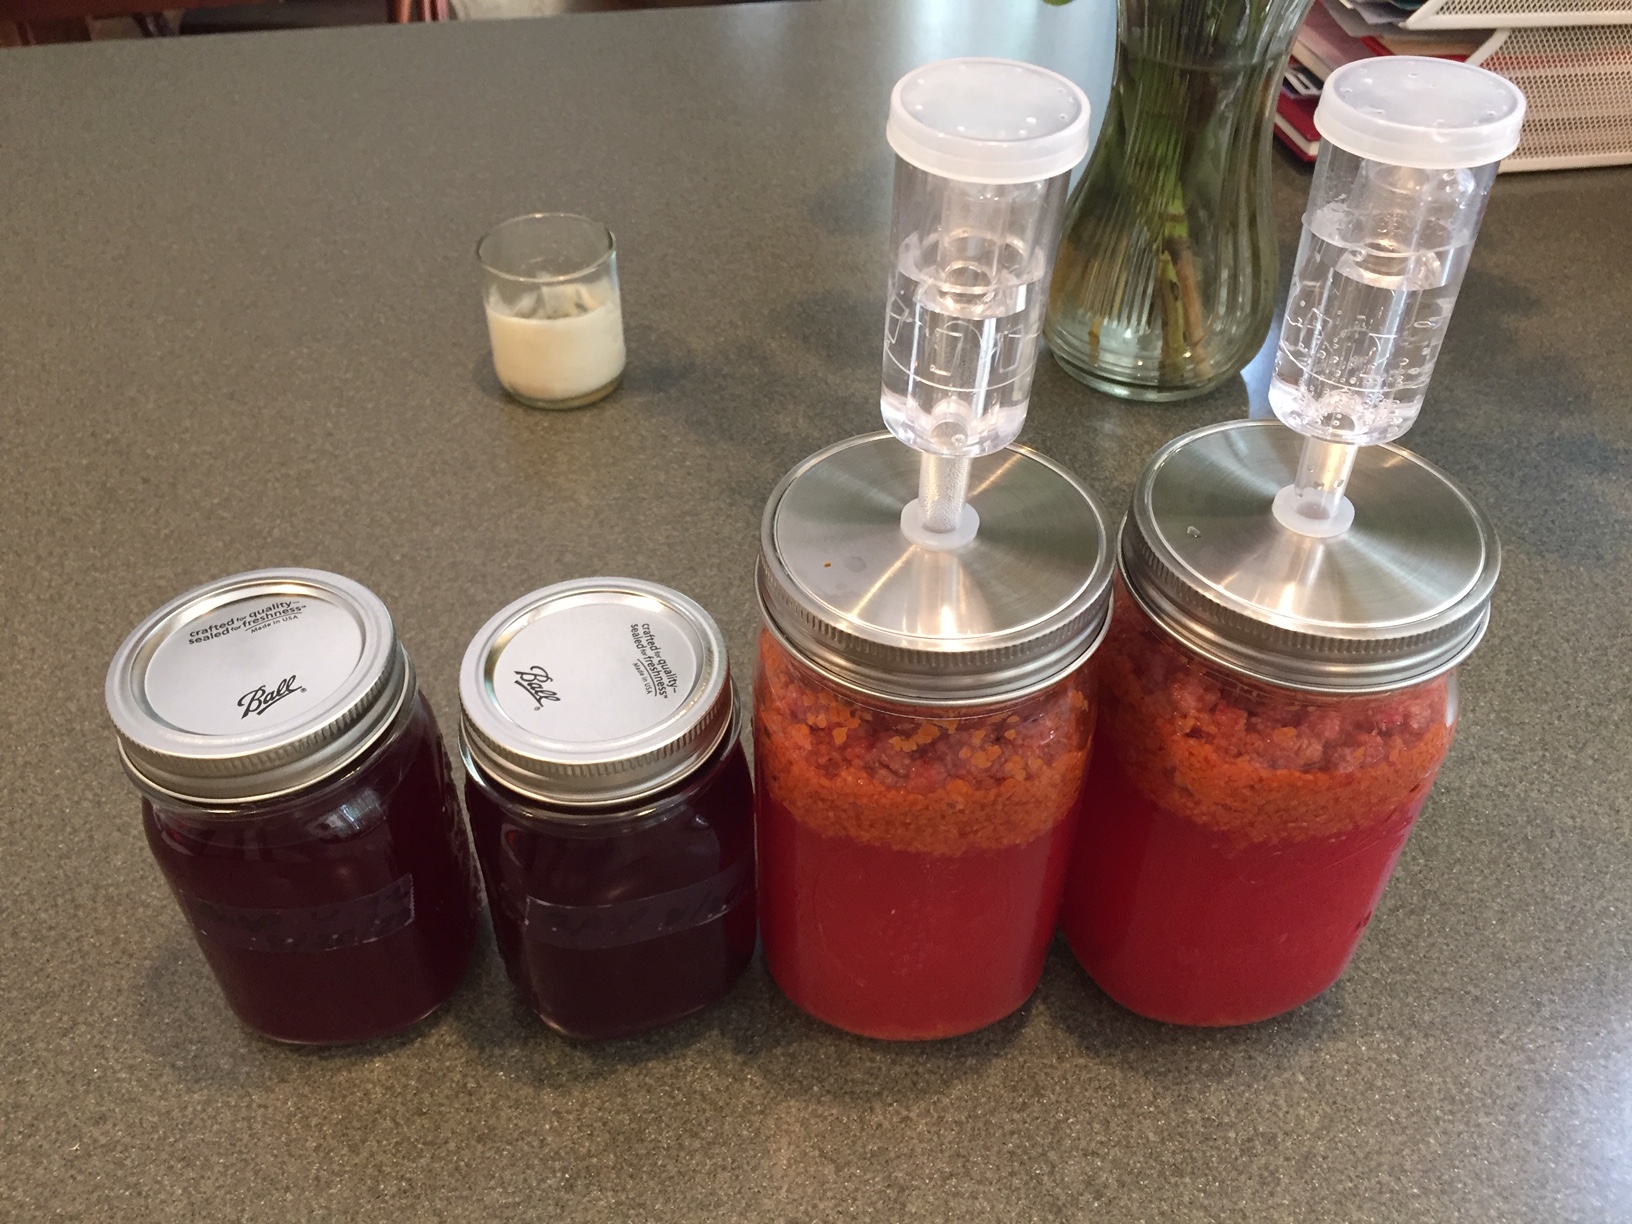
The final project was to attempt to make raspberry wine.  I read some recipes online and ordered mason jar airlocks and wine yeast.  I decided to just go small batch with quart sized mason jars as I had a bunch of canning supplies and jars.

Ingredients per jar:

About 2-3 cups of raspberries
1 1/2 cups of sugar
1 tablespoon lemon juice
2 tablespoons chilled black tea
a squirt of fruit pectin
1/2 a raisin chopped
1/2 packet of wine yeast


My raspberries were frozen for about a week when the airlocks arrived.  I thawed them out by placing them in the jar with the sugar at room temperature.  The sugar began to extract the juice as they thawed. After an hour or so I used the handle of a wooden spoon to crush and muddle the raspberries in the sugar and add the tea (for tannin), lemon juice (for acid), and 1/2 chopped raisin for some extra nutrients. 


Meanwhile I added 1/2 a packet of wine yeast to a small cup and hydrated with water to activate it for 15 minutes or so, swirling every few minutes.

I added the yeast and stirred and then filled the jar to within an inch of the top with tap water.

closed the lid, added and filled the airlock, and dated the jars before moving them to a storage area about 70-76 degrees (my den bookshelf).


In about 5 weeks it was time to filter out both the liquor and the wine as they had stopped bubbling and fermenting.  I used a strainer lined with cheese cloth and re-bottled the liquid in other mason jars to age some more.  I also started another batch with some more berries from the freezer.


After a month or two more of aging again, pour off the liquid into a new bottle and leave the sediment behind.


Age this for another month or so and then re-bottle again by pouring away, or siphoning, the wine from any sediment.


Enjoy a very rewarding taste of the summertime bounty!


Monday, July 13, 2020

Susquehanna Snakehead Fish - How Do They Taste?

This spring the fish elevator had to be prematurely shut down at the Susquehanna dam due to the number of Asian invasive snakehead fish found getting by the dam.  I decided after hearing much talk about them expanding their range, to try and catch one and see for myself if they were really as tasty as I have heard.

My son and I drove an hour and 1/2 to Havre DeGrace, Maryland and met up with my brother Chris who lived near the river and had a boat.  He does much fishing in the river flats below the dam for striped bass and catfish, but has never seen a snakehead before.  He was skeptical I could catch one to say the least.  I told him they like shallow weed beds and tend to prefer buzz baits and top water splashing lures.  I set up my young son with a weedless frog and I put on a buzz bait.  We stopped at the second weed bed he knew about and I hooked and landed our first snakehead!


We fished the rest of the day but only landed a few bass.  I was excited to cook this one up!

I was shocked when I finally got home at 9pm and the fish which had been out of water and sealed in a contractor trash bag in the back on my vehicle for many hours was still alive!  These things are tough and I later learned they can survive up to 4 days outside of water.  That would explain the excessive slime. 

The fish was a bear to fillet.  It was bloody and the scales were like plastic plates.  I soaked the fillets in some salt water overnight and they were a nice pink color and meaty. 


The next day for lunch after rinsing in fresh water, I fried the fillets in butter with just a little lemon pepper seasoning to taste what the true flavor of the fish was. 


The moment of truth came and I am really impressed. 


The meat was a little more firm in consistency, but the closest thing I can compare it to was cod.  It was white and mild.  I believe this fish has ranked number 2 in my book just behind fresh caught trout.  My wife refused to try it because of the name, and I didn't push her too hard as there would be more for me.  My son and I both loved it.  I think I will start referring to this fish by its the new name of "Chesapeake Cod". It is definitely one of my favorites.

Monday, March 9, 2020

Trailing a Deer & Reading Sign

The Waiting is the Hardest Part

Originally published in Traditional Bowhunter Magazine online 1/2020 (tradbow.com)

https://tradbow.com/the-waiting-is-the-hardest-part/


The sun broke the horizon on this particular crisp early November day, and I sat there peacefully watching the yellow and red leaves periodically fluttering to the ground under the influences of a steady low breeze.

Then, I hear crunching behind my tree and I slowly turn my head over my right shoulder as I see a mature whitetail buck steadily trodding downhill.  Tall bright-white forked antler tines reminded me of a mule deer, and its large frame colored in more of a tan/grey hue gave this particular buck some unique attributes.

I calmed myself by some deep belly breathing as is kept on course that would carry it directly to a trail the stand was placed specifically to cover.  I was careful not to draw prematurely and expose myself to his peripheral vision, but as soon as he turned and stepped slightly downhill away from me I drew to anchor.  Looking at a spot of raised fur above where the front leg met the body, I watched as my orange fletch completely disappeared though the tan body a little back, perhaps about the last rib or two.

The buck instantly exploded away from the impact direction and crashed through multiflora rose and vines in a panicked escape.

I knew the arrow was a little farther back than I would have liked, but convinced myself that his slightly quartering position caught at least one lung and probably the liver.   I glanced at my watch marking the time and sat reliving the action. I took a clementine from my cargo pocket and tried to relax as I passed the time with a snack.  After 45 minutes, I slowly eased out of the tree and crept over to the impact area.  I saw the scuffed hoof prints of his two front feet as he launched into his run.  There was no visible blood until I reached where he landed after his first jump.  There on the leaves, I found large blotches of dark red blood.  My arrow lay there sticking out of the leaf litter and covered in the same blood, broken just in front of where the fletch began.  Picking up the shaft dirt was only present on one side of the Ace Standard broadhead.

Continuing a snails pace, I saw blood sign on both sides as he ran.  A positive that two holes were leaking. However, after  about 45 more yards the faucet turned to a drip.  Then nothing.  Then blood again after about 5 more yards. I texted my friend and he suggested I give it some time. It was getting warm so I backed out and walked slowly and quietly back to my truck.  There I shed a layer, took a drink of cold coffee, and planned my next move.

I decided to still hunt my way back to the last blood in the overgrown hedges by a route through the main woods.  Later I would find this a major mistake as I ended up not far the last bed I found blood in.

Resuming the trail I eventually determined the direction of travel through some very thick hedgerow of multiflora rose.  Blood was specks now 10 yards or more apart.  I ended up having to literally crawl through a tunnel of vines to reach the last blood I found.  I surmised this was his bed, dark red blood stained two spots on either side, and no deer was to be found.  I searched the remainder of the day, the morning after, and a few hours on Monday.  Never finding the deer.

My brother, who has vast experience following wounded arrow struck deer, immediately confirmed upon seeing the photos, "Looks like a liver hit, they can last upwards of 2 hours with that kind of wound".


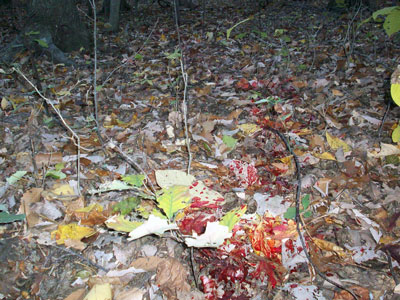
Initial good blood, but dark red indicating a liver hit.


The last blood and his bed.  In a tunnel of tangle he was watching his back trail.

This may be one of the hardest things to do after an arrow flies from the bow at a buck.  After many years of archery hunting deer, I am still humbled by my inexperience and the toughness of the quarry.  Learning lessons is part of the sport, but perhaps I can help others learn some of this an easier way by writing one of my most recent lessons.

My father taught me early on to wait at least 45 minutes before taking up the trail on a well hit animal.  He said, "an hour is better", but 45 minutes is the absolute minimum.  I still believe that is a good rule of thumb, but the caveat here is we are confident we have heart and/or both lungs hit.

Knowing where the animal is hit can go a long way to giving the hunter that first clue on how to proceed.  I prefer brightly colored  fletching and a fully painted white shaft or crest, others go a more modern route of lighted nocks.  Whichever method you prefer, seeing where a hit might be can help immensely after the shot.  Next look for clues where the impact area is.  Do you see hair?  Is it white or brown?  Look for the arrow or first blood sign.  What color is the blood, dark or bright? Does it have bubbles or foam?  Is it slimy or watery?  Does it have an odor? Are there food particles?  Take your time and examine it like a crime scene detective or scientist.  Look for the evidence and take time to consider it.  When in doubt, back out and wait.  If the evidence points to a gut shot, wait even longer.

Deer are tough customers and can survive and totally recover from a one lung hit, let alone not tip over an hour after being struck.

Table 1: Suggested minimum wait time before starting a trail

Blood Indication Minimum Wait Time
Pink and foamy Lung and/or heart 45 minutes
Thick dark red Liver 2 hours
Watery or slimy Paunch or gut 6 hours           

This buck was one lunged and kicked from its bed over 2 1/2 hours after the hit, where it made a final run before collapsing.  


Speaking of patience and reading sign, I am starting to believe this is one of the most overlooked aspects of the younger bowhunting generation.

One evening I was getting some coffee in a WAWA store when I noticed two obvious hunters clad from head to toe in the latest camouflage pattern.  I asked how they made out this evening.  The one spoke up and told me he shot a nice doe right at 6pm this evening with his compound, but it kept going and they never found it.  Now, it was only 8pm as we were chatting.  I was thinking to myself, how long did you wait after the shot before picking up the trail?  Trailing too soon, especially in the dark is a recipe for kicking the animal up and pushing it out of your range.  He should have just started trailing it at 8pm, and I'm betting chances would be better he would have found it.

Another bowhunter I know texted me he shot one of his biggest bucks to date at around 5pm one evening.  He said he was confident he struck the deer in the neck. By 5:24pm he was telling me the first blood was foamy.  Right away this told me windpipe, but did he strike the carotid or jugular? It has been my experience that with a neck shot deer it will either be down within 50 yards and a lot of blood on the ground, or it will be a long time if it ever succumbs.  At around 5:45pm he said the blood was now almost completely shut down and the animal was heading uphill.  I suggested he come back in the morning, but he continued to trail to no avail. When he finally gave up, he told me he found the buck bedded twice within 150 yards.  He just kept pushing it.


 This buck was given lots of time due to a neck shot, but he was found within 45 yards of the stand and didn't go far.

I should have learned the lesson several years ago on Maryland's Eastern shore hunting Sika deerI was fortunate to make a decent shot on a world class Sika stag at dusk on the last day of a grueling 3 day hunt.  I was way out into the marsh in the fading light as a monster Stag emerged from the brush and my first impression was that he has two Christmas trees growing at angles from his head!  I had already missed a few opportunities at smaller stags that weekend, and I doubled down on my focus as he walked 20 yards in front and broadside.  I saw the arrow strike at about the last, or second to last rib, but confident I got al least one lung.  The arrow was buried in the marsh on the other side.  Now, it was getting dark, a mile back in the marsh, I didn't have a good light or GPS.  I was impatient and wanted to use some of the last available light, so after 20 minutes I shimmied down out of the tree and took up the copious trail.  Just after where I last heard him splash there was a little hummock of dry ground and in it was a big pool of bubbly bright pink blood.  I got one lung, but obviously pushed it.  I was confident it would be lying just ahead, but an hour later and 1/4 mile into the marsh the trail crossed a ditch that had water over my waders.  I was forced to retreat in defeat. 

I still regret my impatience and feel confident that if I waited longer, I would have found him in that first bed. Next time I’ll be prepared!

When bowhunting I have come to realize the importance of waiting if the signs do not point you toward a quick recovery. As Tom Petty put it in song, “The waiting is the hardest part,” and so true in our modern fast-paced and immediate gratification society. Older and wiser, it may have finally sunk in.